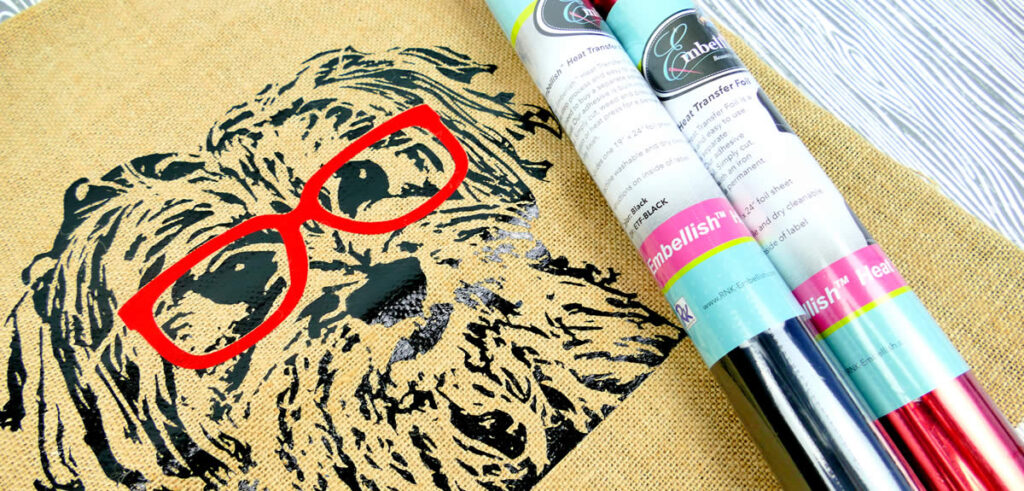
The Embellish Heat Transfer Foil is a one-step process and easy to use. No need to buy a separate adhesive sheet. Our adhesive is built into the foil. Simply cut, weed and press with an iron or heat press for a permanent, shiny finish. Machine washable and dry cleanable.

Each roll includes one 19” x 24” foil sheet and is available in 10 vibrant colors:
Blue – (ETF-BLUE)
Blush – (ETF-BLUSH)
Copper – (ETF-COPPER)
Fiesta– (ETF-FIESTA)
Gold – (ETF-GOLD)
Silver – (ETF-SILVER)
Grape – (ETF-GRAPE)
Kiwi – (ETF-KIWI)
Teal– (ETF-TEAL)
White – (ETF-WHITE)
Embellish Heat Transfer Foil comes with a built-in clear heat resistant pressing sheet. The foil is heat activated. When cutting this product, you want to achieve a “kiss cut”. This means that your digital cutter settings need to be adjusted so you only cut through the foil layer and not through the clear sheet.
After applying the foil to your garment, allow it to cool completely before peeling away the clear heat resistant pressing sheet.
- Design an image using Embellish Maker or Craft N Cut™ Software. Before exporting the file, flip the artwork horizontally or mirror image and then export the cut fi le using Save2Cut (an exclusive feature found in Craft N Cut™ Software). Save2Cut will generate perfect cut settings like the blade depth, cut speed and cut pressure.
- Place the foil shiny side (clear heat transfer pressing sheet) down on your cutting mat and use our Embellish™ Scraper (coming soon!) to remove the air bubbles starting from the center moving out.
- Cut the design.
- Use our Embellish Weeding Tool (Coming soon!) to remove the background foil and discard. Leave the design on the clear heat resistant pressing sheet.
- Set heat press or iron to 295°/146°C. Pre-press the garment for 5 seconds to remove moisture. Place your design with clear heat resistant pressing sheet on top. Press directly on the garment, over the clear heat resistant pressing sheet for 10-12 seconds with a medium pressure. Allow to cool completely and slowly remove one corner of the clear pressing sheet to check that the foil has adhered to your garment. If it has, slowly remove and discard the pressing sheet. If it hasn’t, press again for another 10-12 seconds.
- Wash and wear. Do not iron over the foil. If you are ironing the garment cover the foil with a non-stick pressing cloth.
The graphic shown on the T-shirt is from Hope Yoder’s Graphic T-Shirt Embroidery Collection with SVG Artwork. This SVG file was imported into Embellish Maker Software and the Craft N Cut tools were used to create the project.


Reviews
There are no reviews yet.